


OpenClaw is a powerful, self-hosted AI assistant that connects to your favorite messaging platforms like WhatsApp, Telegram, Discord, iMessage, and more. Unlike cloud-based AI assistants, OpenClaw runs entirely on your own hardware, giving you complete control over your data and privacy.
In this comprehensive guide, we’ll walk you through the complete OpenClaw installation process on Windows, macOS, and Linux. Whether you’re a developer looking for a local AI agent or a privacy-conscious user wanting a personal assistant, this tutorial will help you get OpenClaw up and running in no time.
What is OpenClaw?
OpenClaw is a local-first, self-hosted AI gateway that bridges your messaging applications with AI coding agents. Think of it as your personal AI infrastructure that lives on your machine rather than in the cloud.
Key Features of OpenClaw
| Feature | Description |
|---|---|
| Multi-Channel Support | Works with WhatsApp, Telegram, Discord, iMessage, Signal, Slack, Google Chat, Microsoft Teams, and more |
| Self-Hosted | Runs on your hardware—no data leaves your machine |
| Agent-Native | Built for coding agents with full tool support (browser, file operations, terminal) |
| Voice Capabilities | Supports Voice Wake and Talk Mode on macOS, iOS, and Android |
| Live Canvas | Agent-driven visual workspace with A2UI integration |
| Memory System | Persistent memory across sessions for personalized assistance |
| Multi-Agent Routing | Route different channels to isolated agent workspaces |
| Open Source | MIT licensed with an active community |
Why Choose OpenClaw?
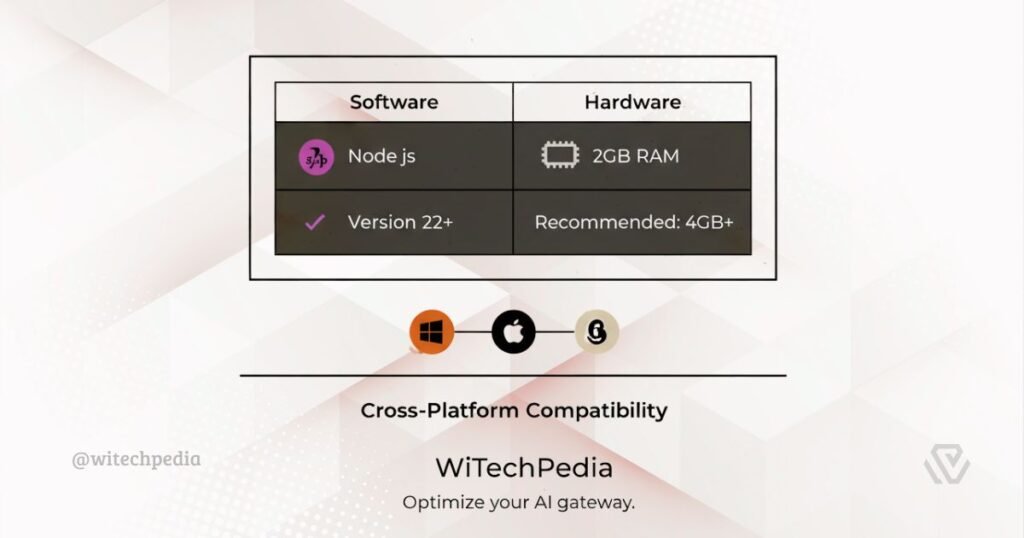
System Requirements to install OpenClaw
Before installing OpenClaw, ensure your system meets these requirements:
| Requirement | Minimum | Recommended |
|---|---|---|
| Node.js | Version 22+ | Latest LTS version |
| Operating System | Windows (WSL2), macOS 12+, Ubuntu 20.04+ | Latest OS versions |
| RAM | 2 GB | 4 GB+ |
| Storage | 500 MB free | 1 GB+ free |
| Package Manager | npm, pnpm, or bun | pnpm (recommended) |
Checking Your Node.js Version
Open your terminal or command prompt and run:
node --version
If you see a version lower than 22 or get a “command not found” error, you’ll need to download Node.js from the official website or use a version manager like nvm.
Openclaw Installation Methods
OpenClaw offers several installation methods. The recommended approach uses the onboarding wizard, but you can also install directly via npm/pnpm/bun or build from source.
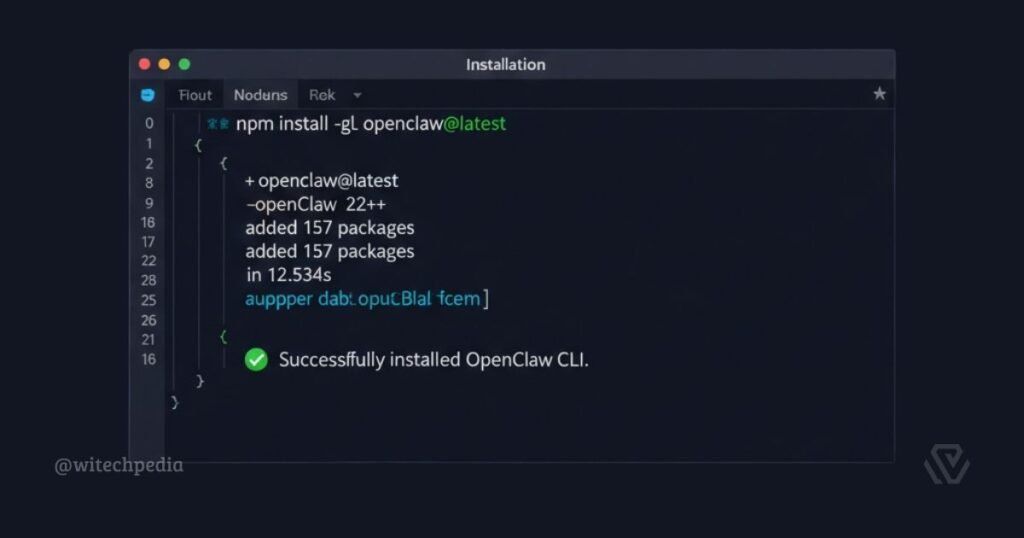
Method 1: Quick Install (Recommended)
The fastest way to get started is by installing OpenClaw globally via your preferred package manager:
1. Using npm:
npm install -g openclaw@latest
2. Using pnpm (Recommended):
pnpm add -g openclaw@latest
3. Using bun:
bun add -g openclaw@latest
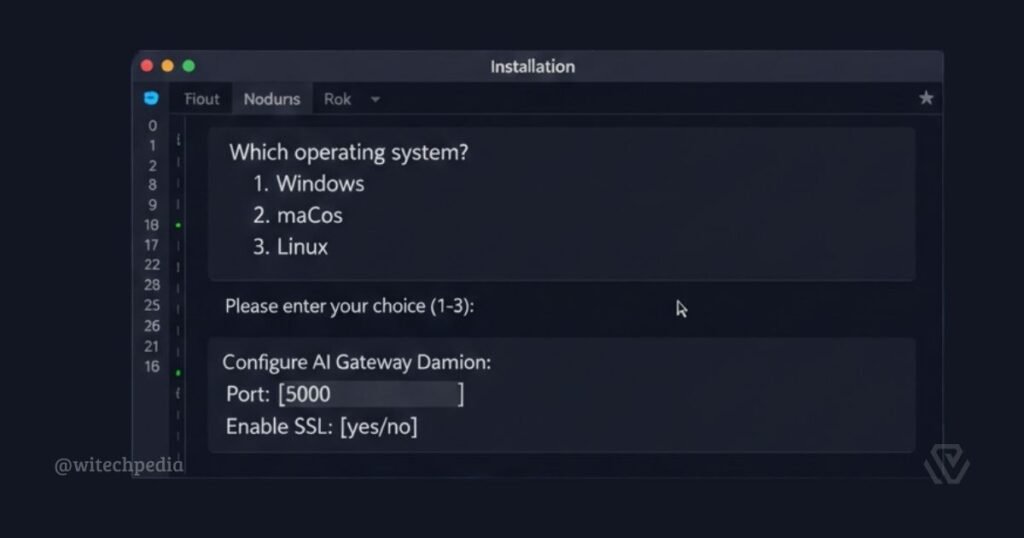
Method 2: Onboarding Wizard Setup
After installation, the onboarding wizard guides you through the entire setup process. This is the recommended method as it handles
1. Run the wizard with:
openclaw onboard --install-daemon
The wizard supports:
Method 3: Build from Source (Development)
For developers who want to contribute to OpenClaw or modify the source code:
# Clone the repository
git clone https://github.com/openclaw/openclaw.git
cd openclaw

# Install dependencies
pnpm install

# Build the UI
pnpm ui:build

# Build the project
pnpm build

# Run the onboarding wizard
pnpm openclaw onboard --install-daemon

# Development mode with auto-reload
pnpm gateway:watch
Note: For development, pnpm openclaw runs TypeScript directly via tsx, while pnpm build produces compiled JavaScript in the dist/ directory for production use.
How to install OpenClaw: Step-by-Step Installation Guide
Step 1: Install Node.js 22+
If you haven’t already installed Node.js 22 or higher:
Step 2: Install OpenClaw
Choose your preferred method:
# Using pnpm (recommended)
pnpm add -g openclaw@latest
Step 3: Run the Onboarding Wizard
The wizard is the easiest way to set up OpenClaw:
openclaw onboard --install-daemon
The wizard will guide you through:
| Step | Description |
|---|---|
| 1. Welcome | Introduction to OpenClaw |
| 2. Gateway Setup | Configure the local gateway daemon |
| 3. Workspace | Set up your working directory |
| 4. API Keys | Configure Anthropic/OpenAI API access |
| 5. Channels | Connect messaging platforms |
| 6. Skills | Install bundled and additional skills |
Step 4: Configure API Keys
OpenClaw works with various AI models. The recommended setup uses Anthropic’s Claude models:
1. Anthropic Configuration
- Get your API key from Anthropic Console
- During onboarding, enter your API key
- Recommended model: Claude Opus 4.6 for best long-context performance
2. OpenAI Configuration
- Get your API key from OpenAI Platform
- Configure in the wizard or manually in
~/.openclaw/openclaw.json
Minimal Configuration File
3. Minimal Configuration File
Your ~/.openclaw/openclaw.json should look something like:
{
  "agent": {
    "model": "anthropic/claude-opus-4-6"
  },
  "channels": {
    "telegram": {
      "botToken": "YOUR_TELEGRAM_BOT_TOKEN"
    },
    "discord": {
      "token": "YOUR_DISCORD_BOT_TOKEN"
    }
  }
}
Step 5: Start the Gateway
After configuration, start the OpenClaw gateway:
openclaw gateway --port 18789 --verbose
The gateway will:
- Start running on
ws://127.0.0.1:18789 - Launch the Control UI dashboard
- Connect to your configured channels
Access the dashboard at: http://127.0.0.1:18789/
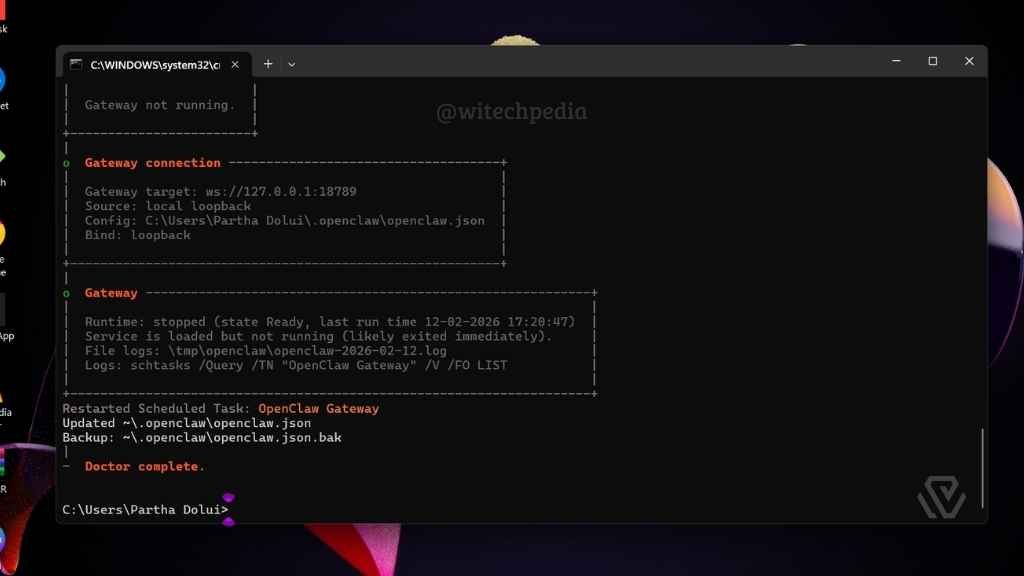
Step 6: Verify Installation
Test your installation with these commands:
# Check system health
openclaw doctor

# Send a test message
openclaw message send --to +1234567890 --message "Hello from OpenClaw!"

# Talk to the agent
openclaw agent --message "What can you do?" --thinking high
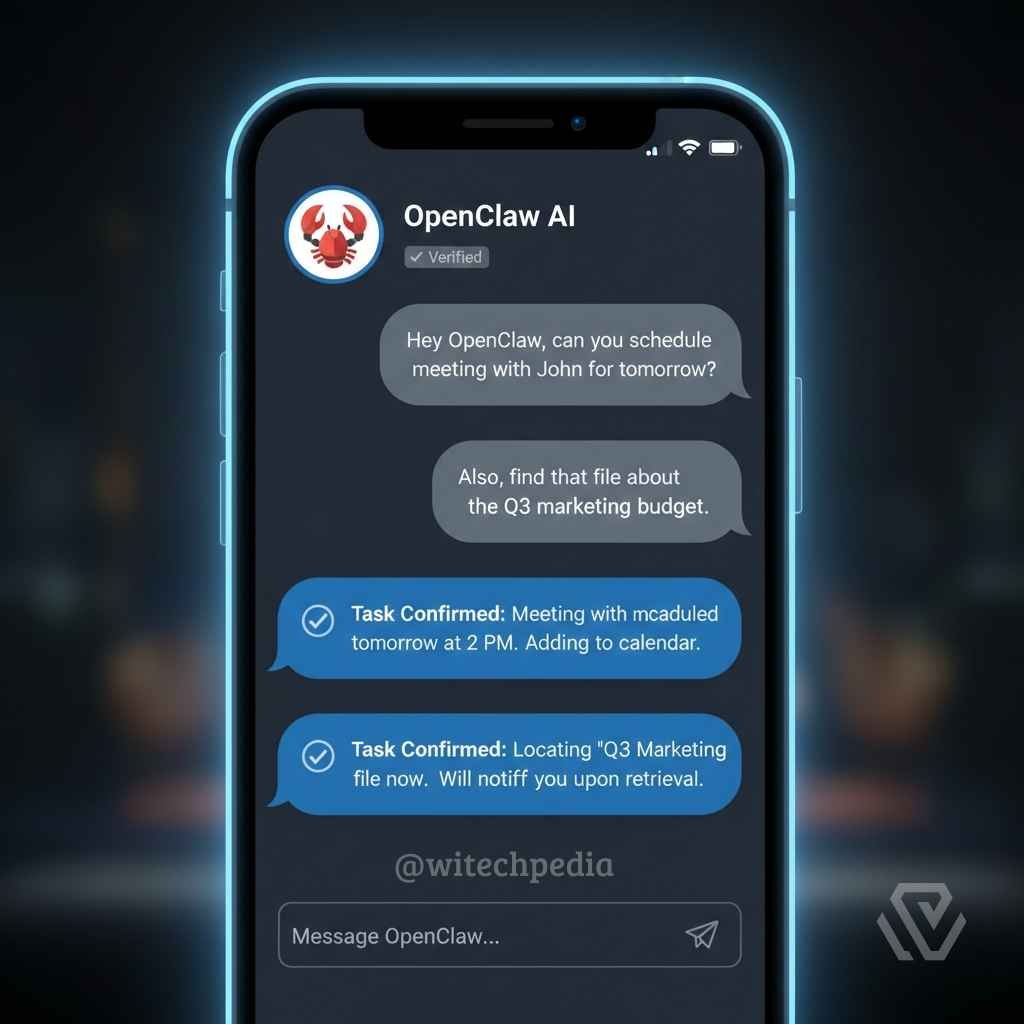
How to Set Up Messaging Channels on OpenClaw?
One of OpenClaw’s most powerful features is its ability to connect to multiple messaging platforms. Here’s how to set up the most popular channels:
1. WhatsApp
# Login and link your WhatsApp device
pnpm openclaw channels login
This stores credentials in ~/.openclaw/credentials. Configure allowlist in your config:
{
  "channels": {
    "whatsapp": {
      "allowFrom": ["+15551234567", "+15559876543"],
      "groups": {
        "*": { "requireMention": true }
      }
    }
  }
}
2. Telegram
- Create a bot via @BotFather
- Copy your bot token
- Configure in OpenClaw:
{
  "channels": {
    "telegram": {
      "botToken": "123456:ABCDEF123456"
    }
  }
}
3. Discord
- Create an application at Discord Developer Portal
- Add a bot and copy the token
- Configure in OpenClaw:
{
  "channels": {
    "discord": {
      "token": "YOUR_BOT_TOKEN"
    }
  }
}
4. Other Supported Channels
| Channel | Setup Complexity | Documentation |
|---|---|---|
| Slack | Medium | docs.openclaw.ai/channels/slack |
| Signal | Advanced | docs.openclaw.ai/channels/signal |
| iMessage (BlueBubbles) | Medium | docs.openclaw.ai/channels/bluebubbles |
| Microsoft Teams | Medium | docs.openclaw.ai/channels/msteams |
| Google Chat | Easy | docs.openclaw.ai/channels/googlechat |
OpenClaw Platform-Specific Installation
1. Install OpenClaw on macOS
macOS offers the smoothest OpenClaw experience with additional features:
Features:
Installation:
# Install via pnpm
pnpm add -g openclaw@latest

# Run onboarding with macOS-specific setup
pnpm openclaw onboard --install-daemon
Permissions: macOS may prompt for:
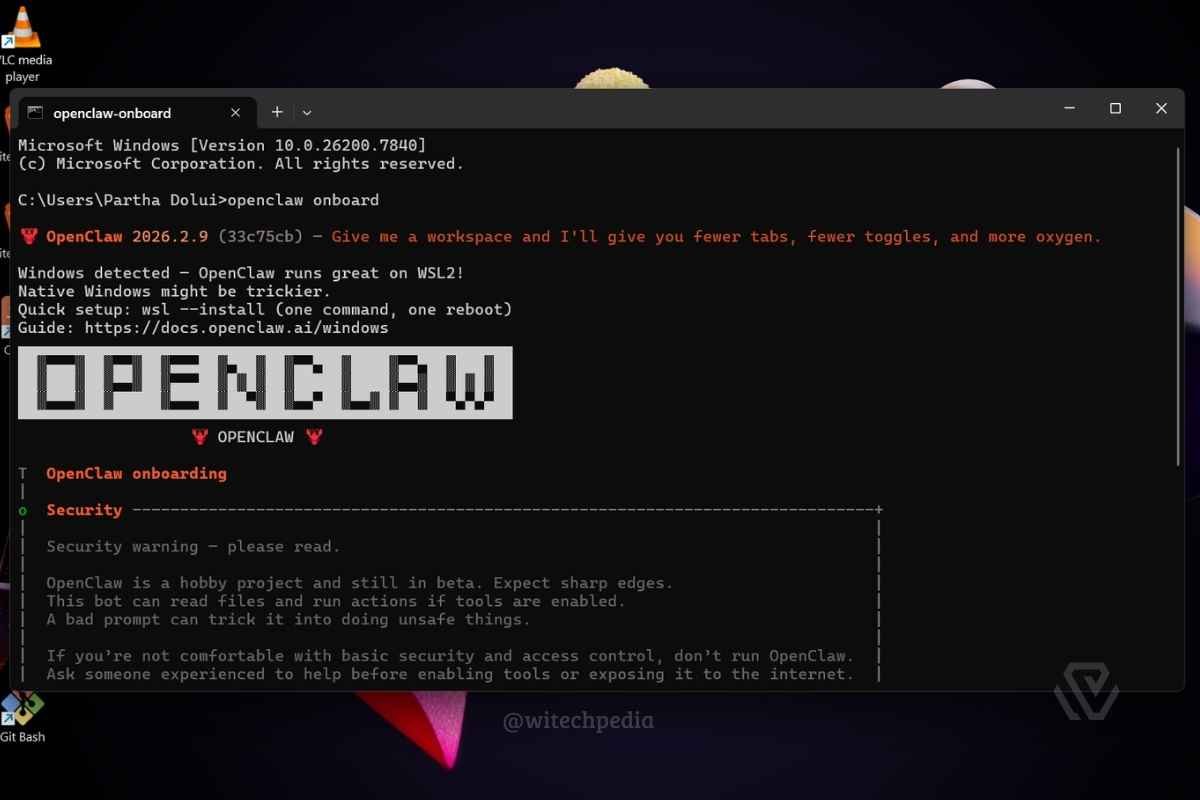
2. Install Openclaw on Windows 11/10 (WSL2 Strongly Recommended)
OpenClaw works best on Windows through WSL2 (Windows Subsystem for Linux):
Setup WSL2:
# Enable WSL2 feature
wsl --install

# Restart your computer
# Install Ubuntu from Microsoft Store
Install OpenClaw in WSL2:
# Inside WSL2 terminal
pnpm add -g openclaw@latest
pnpm openclaw onboard --install-daemon
Why WSL2? WSL2 provides:
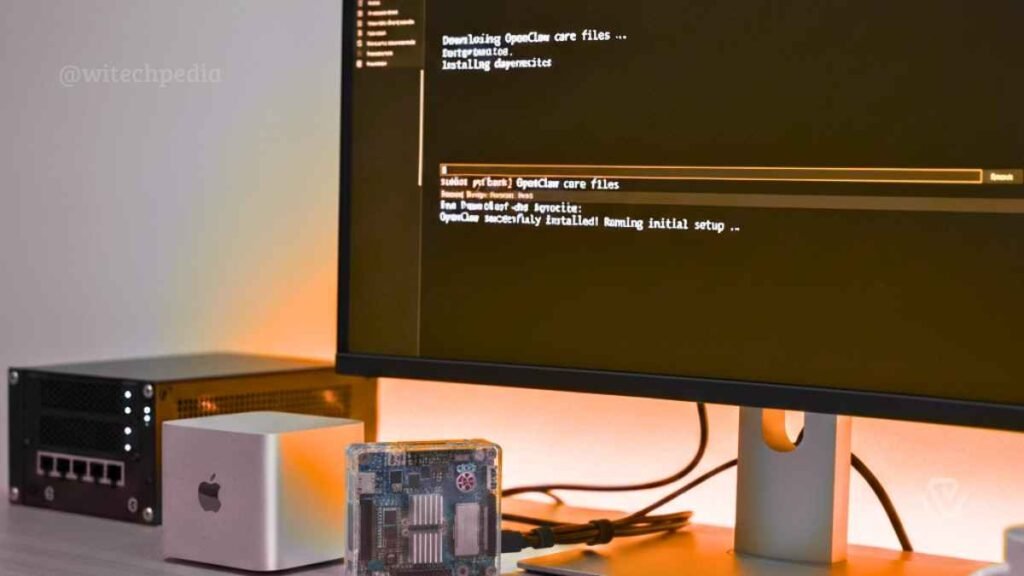
3. Install OpenClaw on Linux
OpenClaw runs natively on Linux, making it ideal for headless servers or Raspberry Pi:
Ubuntu/Debian:
# Install pnpm
npm install -g pnpm

# Install OpenClaw
pnpm add -g openclaw@latest

# Run onboarding
pnpm openclaw onboard --install-daemon
Configure as systemd service:
The onboarding wizard automatically sets up a systemd user service for you.
Manual service setup:
# Create systemd service file
mkdir -p ~/.config/systemd/user
cat > ~/.config/systemd/user/openclaw.service << EOF
[Unit]
Description=OpenClaw Gateway

[Service]
Type=simple
ExecStart=/usr/bin/pnpm openclaw gateway --port 18789
Restart=always

[Install]
WantedBy=default.target
EOF

# Enable and start
systemctl --user enable openclaw
systemctl --user start openclaw
OpenClaw Configuration Deep Dive
I. Understanding the Config File
OpenClaw’s configuration lives at ~/.openclaw/openclaw.json. Here’s a comprehensive example:
{
  "agent": {
    "model": "anthropic/claude-opus-4-6",
    "thinkingLevel": "high",
    "verbose": true
  },
  "gateway": {
    "port": 18789,
    "bind": "loopback"
  },
  "channels": {
    "telegram": {
      "botToken": "YOUR_TOKEN",
      "groups": {
        "*": { "requireMention": true }
      }
    },
    "discord": {
      "token": "YOUR_TOKEN",
      "dm": { "policy": "pairing" }
    }
  },
  "browser": {
    "enabled": true,
    "color": "#FF4500"
  },
  "security": {
    "sandbox": {
      "mode": "non-main"
    }
  }
}
II. Model Configuration
OpenClaw supports multiple AI models:
| Model Provider | Recommended Models | Strengths |
|---|---|---|
| Anthropic | Claude Opus 4.6, Sonnet 4 | Long context, coding, reasoning |
| OpenAI | GPT-4o, o1 | Broad capabilities, function calling |
Setting model fallback:
{
  "agent": {
    "model": "anthropic/claude-opus-4-6"
  },
  "modelFallback": [
    "openai/gpt-4o",
    "openai/gpt-4o-mini"
  ]
}
III. Security Settings
OpenClaw takes security seriously. By default:
For stricter security:
{
  "channels": {
    "telegram": {
      "allowFrom": ["+1234567890"],
      "groups": {
        "YOUR_GROUP_ID": { "requireMention": true }
      }
    }
  },
  "agents": {
    "defaults": {
      "sandbox": {
        "mode": "non-main"
      }
    }
  }
}
Troubleshooting Common Issues
Issue: “Node version not detected”
Error message:
Error: Node.js 22+ required. Found: v18.x.x
Solution:
- Install Node.js 22+ from nodejs.org
- Or use nvm (Node Version Manager):
# Install nvm (Linux/macOS/WSL2)
curl -o- https://raw.githubusercontent.com/nvm-sh/nvm/v0.39.0/install.sh | bash

# Install and use Node 22
nvm install 22
nvm use 22

# Verify
node --version
Issue: Gateway won’t start
Error message:
Error: Port 18789 already in use
Solution:
# Find and kill the process using port 18789
# Linux/macOS:
lsof -i :18789
kill -9 <PID>

# Windows (WSL2):
netstat -ano | findstr :18789
taskkill /PID <PID> /F
Issue: Channel connection failures
Symptom: Messages aren’t being sent or received
Solutions:
- Run the diagnostic tool:
openclaw doctor - Check your credentials:
# For WhatsApp cat ~/.openclaw/credentials/whatsapp.json # For Telegram echo $TELEGRAM_BOT_TOKEN - Verify network connectivity:
# Test API connectivity curl -I https://api.anthropic.com
Issue: Permission denied on macOS
Symptom: Screen recording or microphone not working
Solution:
- Open System Settings → Privacy & Security
- Enable permissions for:
- Microphone
- Screen Recording
- Notifications
- Restart the OpenClaw app
Issue: Docker sandbox errors
Error message:
Error: Docker not found or not running
Solution:
- Install Docker from docker.com
- Start Docker daemon:
# Linux/macOS sudo systemctl start docker # or dockerd & - Add user to docker group:
sudo usermod -aG docker $USER
OpenClaw Advanced Configuration
➤ Remote Gateway Setup
Run OpenClaw on a Linux server and access it remotely:
{
  "gateway": {
    "bind": "loopback",
    "tailscale": {
      "mode": "serve"
    }
  }
}
With Tailscale Serve enabled, you can access your gateway from any device on your Tailscale network.
➤ Using Tailscale Funnel (Public Access)
For public access (requires password authentication):
{
  "gateway": {
    "auth": {
      "mode": "password"
    },
    "tailscale": {
      "mode": "funnel"
    }
  }
}
➤ Multi-Agent Setup
Route different channels to different agent workspaces:
{
  "agents": {
    "workspaces": {
      "personal": "~/.openclaw/workspace/personal",
      "work": "~/.openclaw/workspace/work"
    },
    "routes": [
      {
        "channel": "telegram",
        "from": "+1234567890",
        "agent": "personal"
      },
      {
        "channel": "discord",
        "guild": "123456789",
        "agent": "work"
      }
    ]
  }
}
➤ Browser Control
Enable browser automation:
{
  "browser": {
    "enabled": true,
    "color": "#FF4500",
    "profiles": {
      "chrome": {
        "path": "/usr/bin/google-chrome"
      }
    }
  }
}
OpenClaw Voice & Audio Setup
➤ Voice Wake (macOS)
Enable hands-free activation:
openclaw nodes voicewake --enable
Configure wake words and sensitivity:
{
  "nodes": {
    "voicewake": {
      "enabled": true,
      "wakeWords": ["hey openclaw", "hey claw"],
      "sensitivity": 0.7
    }
  }
}
➤ Talk Mode
Enable continuous conversation:
openclaw nodes talk --enable
➤ ElevenLabs Voice
For high-quality text-to-speech:
- Get an ElevenLabs API key from elevenlabs.io
- Configure in OpenClaw:
{
  "audio": {
    "elevenlabs": {
      "apiKey": "YOUR_API_KEY",
      "voiceId": "21m00Tcm4TlvDq8ikWAM"
    }
  }
}
Updating OpenClaw
Keep your installation up to date:
Update via Package Manager
# npm
npm update -g openclaw@latest

# pnpm
pnpm update -g openclaw@latest

# bun
bun update -g openclaw@latest
Switch Channels
# Stable (recommended for production)
openclaw update --channel stable

# Beta (testing)
openclaw update --channel beta

# Development (latest features, may be unstable)
openclaw update --channel dev
After Update
Run the health check:
openclaw doctor
This will:
Security Best Practices
1. Protect Your API Keys
Never commit your openclaw.json to version control:
# Add to .gitignore
echo "**/openclaw.json" >> ~/.gitignore_global
git config --global core.excludesFile ~/.gitignore_global
2. Configure DM Pairing
Unknown senders should require pairing:
{
  "channels": {
    "discord": {
      "dm": { "policy": "pairing" }
    },
    "slack": {
      "dm": { "policy": "pairing" }
    }
  }
}
3. Use Allowlists
Restrict who can access your assistant:
{
  "channels": {
    "telegram": {
      "allowFrom": ["123456789", "987654321"]
    },
    "whatsapp": {
      "allowFrom": ["+1234567890"]
    }
  }
}
4. Enable Sandboxing for Groups
Run group conversations in isolated Docker containers:
{
  "agents": {
    "defaults": {
      "sandbox": {
        "mode": "non-main"
      }
    }
  }
}
Getting Started with Your AI Assistant
Now that OpenClaw is installed, here’s what you can do:
Basic Commands
| Command | Description |
|---|---|
/status | Check model, tokens, and cost |
/new or /reset | Start a fresh conversation |
/think <level> | Set thinking level (off to xhigh) |
/verbose on/off | Toggle detailed output |
/usage | Show token and cost statistics |
Example Conversations
Coding assistance:
You: Write a Python script to download files from a URL

OpenClaw: Here's a Python script using the requests library...
Research:
You: What's the latest news about AI agents?

OpenClaw: Let me search for recent developments in AI agents...
Automation:
You: Set a reminder to call mom at 5 PM

OpenClaw: Done! I've scheduled a reminder for 5:00 PM today.
Useful Resources
| Resource | URL |
|---|---|
| Official Documentation | docs.openclaw.ai |
| GitHub Repository | github.com/openclaw/openclaw |
| Discord Community | discord.gg/clawd |
| Website | openclaw.ai |
| Skills Registry (ClawHub) | clawhub.com |
Frequently Asked Questions
Is OpenClaw free to use?
Yes, OpenClaw itself is free and open source (MIT license). You only pay for your AI API usage (Anthropic/OpenAI).
Can I use OpenClaw without an API key?
No, OpenClaw requires an API key for AI capabilities. You can use it without channels configured for local tasks only.
How much does the API cost?
Costs vary by provider. Anthropic’s Claude typically costs $3-15 per million tokens depending on the model.
Can I run OpenClaw on a Raspberry Pi?
Yes! OpenClaw runs on any Linux system with Node.js 22+. A Raspberry Pi 4 or 5 with 4GB+ RAM works well.
Is my data really private on OpenClaw?
Yes. OpenClaw runs entirely on your machine. Your conversations never reach OpenClaw’s servers—only your AI provider’s API.
Q: Can I use multiple AI models?
Yes, you can configure model fallback chains for redundancy and cost optimization.
Conclusion
OpenClaw represents the future of personal AI assistants—powerful, private, and completely under your control. By following this guide, you’ve successfully installed and configured a self-hosted AI assistant that works with all your favorite messaging platforms.
The journey doesn’t end here. Explore the official documentation to discover advanced features like:
- Multi-agent workflows
- Browser automation
- Voice wake and talk mode
- Canvas visualizations
- Custom skills development
Happy automating with OpenClaw!


I really appreciate how you’ve broken down the installation into clear, manageable steps. As someone who’s fairly new to setting up AI tools, it’s nice to see a guide that doesn’t overwhelm but gives enough detail to feel confident.